In today’s world of tight schedules, air pollution, anxiety, and environmental toxin overload, it’s impossible for our skin not to feel the wrath of all of this mess! Thankfully, with a bit of commitment and determination, you can maintain your skin’s natural beauty while we are being forced to quarantine in our own homes! Continue reading to get some DIY skincare tips and easy-to-implement DIY Skincare methods to reduce stress, support your radiant skin, and decrease aging signs!
Cleansing Your Skin
The first step when it comes to your at-home skincare is to cleanse your skin properly! Perspiration, grease, dust, makeup, dirt, and bacteria collect daily on your skin. All this has to be removed entirely every day. There are many different skin types, for example, oily, dry, sensitive, and prone to acne. Different cleansers perform better with each skin type based on the pH and other various factors. Cleansing not only helps clean the skin, open the pores, and allow the skin to absorb the products you will apply. If you wear a considerate amount of makeup, you may want first to use a makeup remover to get most of the makeup off your face before cleansing.
To properly cleanse, begin by wetting your face with lukewarm water. Apply the cleanser that is best matched for your skin type on your face and neck, then gently massage in a circular, upward motion for at least five minutes, or depending on the directions provided with your cleanser. Remove all cleaners using a damp washcloth and warm water to ensure all residue is removed from your face. Pat dry; never rub; it can be rough on your skin.
Toning Your Skin- DIY Skincare
The next step, tone your skin using skin freshener (mild), skin tonic (medium strength), or an astringent lotion (intense). Toning is essential because it helps remove any missed or remaining greasiness that might be left on your skin after you have finished the cleansing process. Toning helps close open pores and maintains your natural skin’s pH, and if you plan to apply any makeup, it will leave you a smooth, clean canvas that will help hold your foundation and powder throughout the day.
Nourishing Your Skin- DIY Skincare
Nourishing your skin is also a crucial part of any beauty regimen. Dirt, dust, weather, cosmetics, and even sunlight all tend to dry out the skin, stripping it of much-needed moisture and oils. Making sure you cleanse your face each night before bed is imperative for younger-looking skin. Skin “foods” or moisturizers attempt to nourish one’s skin, revitalizing its natural healthiness. Again, different moisturizers work adequately for different types of skin. For those who tend to have oily skin, you should avoid moisturizers containing oils and go for one that contains glycerin instead. If you tend to have dry skin, applying a moisturizer right after washing your face helps prevent drying and helps lock in moisturizer. If your skin is neutral, you can usually get away with using products containing oil or glycerin. Just make sure to look for products labeled for neutral skin types.
Facial- DIY Skincare
A facial is the fastest cleansing, reviving, and brightening skin, leaving it luminous, smooth, and radiating. A facial also does a good job of relaxing nerves, so you not only appear younger-looking, but you will feel invigorated and feel more relaxed! Getting A facial once or twice each month will ensure rejuvenation and a fresh new skin for a lengthy time to come!
If going out to a spa or professional for your facial, find someone who utilizes natural products and pays attention to the type of skin you have; if they don’t ask you be sure to inform them so they don’t use the wrong products. Using the wrong products could result in a breakout or rash. However, with all that’s going on in the world today, if you don’t feel safe or cannot afford a costly salon treatment, you can always pamper and award yourself a facial in the privacy of your own home! Be sure to arrange a period when you can relax your mind, be calm and tranquil, and make sure you have all the products you need ready before you start so that you can relax and really savor the moment!
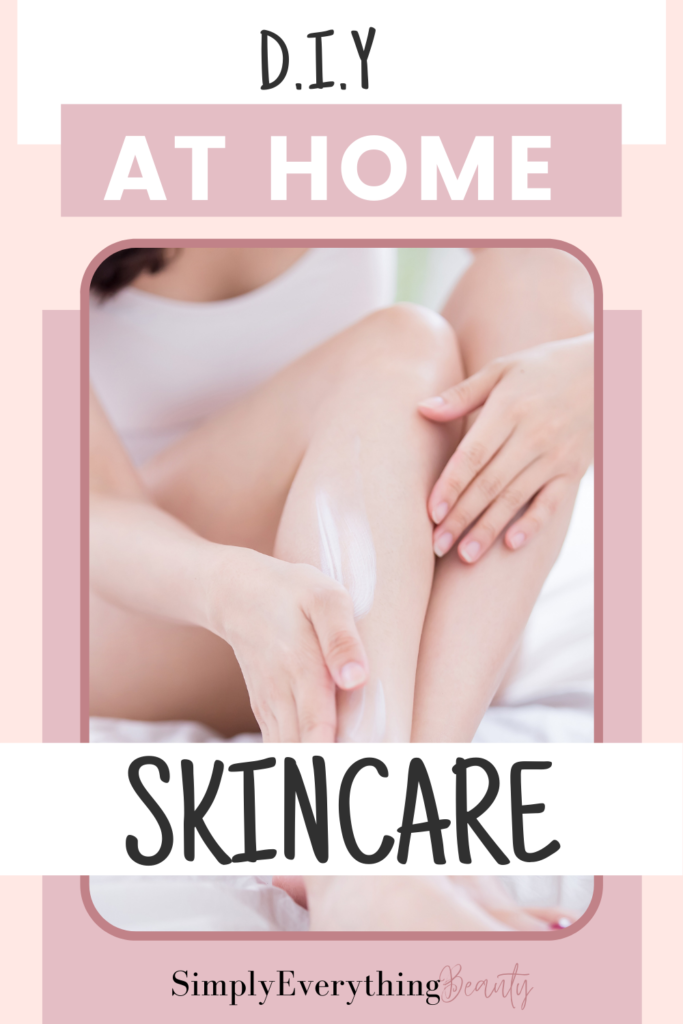
D.I.Y at Home Skincare
Follow the regimen below for a quick, at-home facial:
– Tie hair away from face and neck; using a headband pull any remaining hair away from your forehead.
– Begin by removing all makeup using a makeup remover wipe, coconut oil, or another method to remove the day’s residue from your face. Clean your face and neck with a good cleanser and thoroughly remove.
– The next step is a gentle exfoliate to remove any remaining dead skin cells, dirt, and bacteria allowing the skin to absorb your skincare products properly. One of my favorites is a simple, DIY exfoliant of organic coffee grounds, hot water, and warmed organic coconut oil. Still, you can also find excellent products to use at your local go-to beauty store.
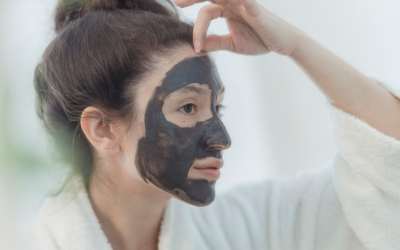
– Develop a face mask suited to your skin type. On your cleansed and exfoliated face, spread a thick layer avoiding the mouth area and creating large circles around the eyes. Then, lie back on your back and keep the mask on for 15 to 20 minutes or until dry. There are tons of options for formulating an incredible mask at home, but the one we love the most is a simple blend of honey, organic coconut oil, and fresh avocado.
– When your face mask is completely dry, wash your face and neck with lukewarm water. After your skin dries, apply your favorite toner that is rightly suited for your type of skin.
– Finally, now that the skin is clean, exfoliated, and your pores are open, it is time to administer skin serum and/or moisturizer. Please spend some time massaging it using upward, round motions.
Massaging your Skin
Massaging your face is another vital practice for youthful skin and can also be surprisingly relaxing in its self! While being a useful way to prevent wrinkles, massaging is a slow process, and its results are apparent only if it is practiced routinely for an extensive period of time. With that being said, there is no doubt that massage is advantageous for binding facial tissues, increasing blood flow, animating nerves, and thus resulting in boosting your natural collagen production.
Massage is most efficient if the skin is thoroughly cleansed first. Do not forget to remove all makeup traces; otherwise, particles of dirt will block the skin’s pores. If the skin is oily, then eliminate oiliness by applying cleansing milk or some astringent lotion. Fresh lemon juice is also potent in excreting excess oiliness. If the skin is dry, use a suitable moisturizer before massaging it. Ultimately, apply Vitamin E cream using only enough to give enough greasiness to the skin so that the hands and fingers move sleekly across your face.
After cleaning your skin, press it with light but firm fingers. Putting a little pressure while implementing a suitable moisturizer for your skin type. Make sure to hold your skin firmly and apply even pressure. The massage starting from the neck and move upwards, ceasing to the forehead. Veins and tissues get an enhanced flow of oxygen/ blood supply by this process. The skin around our eyes is fragile, so it is advisable to administer your cream on this area without pushing it in too intensely. The cream will take around 15 to 20 minutes to absorb into your skin completely, so your massage should last that long. Lightly wipe off any excess cream when completed.
The Art of Massaging
– Slower Massage – This is the most familiar way of massage and the most relaxing. The secret is to massage slowly while lightly patting the skin at the same time. Using the plump part of your fingertips, press the skin softly with a slow, stroking motion. It would be best if you started at the neck base, moving at a slow pace. Stroking gives ease to the nerves. The vibration is beneficial in suppressing pain that might be created over the more delicate sections…
– Faster Massage – The front half of both the palms are used to massage at a faster speed, taking care to make a circular motion upwards
– Pressure Massage – This method applies slow, deep pressure with the fingertips and is very effective for removing pouches beneath the eyes.
–Stroking Massage – Cheeks are stroked with fingertips, and strokes are applied from the nose to the temples on both sides
– Pinching Massage – It is precisely what it sounds like, a pinch. This technique is effective on that unwanted saggy chin or those wrinkles that may appear around the jawline area; you hold the skin between your thumb and fingers and gently massage while giving a tiny pinch. Not too hard now; we aren’t trying to cause discomfort.
– Friction Massage – This massage entails pressure on the skin while being moved over the underlying bone and muscle structures. Fingers or palms are usually most suitable for this type of massage. Hand movements are generally applied on the scalp while light movements are utilized on the face and neck.
– Piano Playing Moves – This exercise strengthens and firms facial muscles. It should be performed with the fingers on the entire face, primarily the cheek area.
Making DIY SkinCare Products
● DIY Face Scrub
Grab a container of some sort, blend 1/2 cup of Organic Brown Sugar and 1/4 cup of Organic Avocado Oil. Mix well until blended. Scoop out the center of a kiwi, mush it down. Then mix it with the sugar and oil. Save the mixture in an air-tight glass jar and refrigerate for up to two weeks.
● Made from scratch Massage Oil
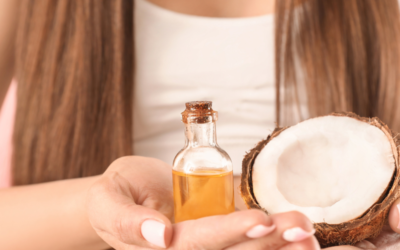
Combine 1/4 cup of your preferred carrier oil into a jar or container( coconut oil, avocado oil, or almond oil are all great options). Next, you can choose your favorite smelling essential oil or combinations of oils and add 1 tsp to the carrier oil. Mix well, then allow to set up overnight.
● Anti-wrinkle Cream
Melt a mixture of 2 tablespoons of lanolin or beeswax, 2 tablespoons of almond oil, and 1 tablespoon of apricot oil. Then combine 3 tablespoons of lemon juice or lemon essential oil. Apricots are very loaded with vitamin A, and this mixture is excellent for helping decrease wrinkles!
● Anti-wrinkle Lotion
Combine the following ingredients: 1/4 cup of shea butter, 1 tbsp coconut or almond oil, and 16 drops of your desired essential oil. My favorites are lavender, rosemary, frankincense, and lemon. Mix well by hand or by the mixer and add to a clean jar.
By following these easy steps and being consistent with your routine. You can quickly start having brighter, healthier, and more rejuvenated-looking skin in no time at all!
Disclaimer: Thank you for visiting Simplyeverythingbeauty.com. You may have noticed I have affiliate links located within my blog posts if you click on these links and make a purchase I will be lucky enough to earn a small commission which helps make it possible to keep this site up and running. Also, I may share information that seems medically related at times but let me make it clear, I am in no way a medical professional. I share the information I find on medically professional websites. I am in no way responsible for any reactions due to trying suggested products or remedies, try at your own risk.



0 Comments